Python3のC拡張を Build Tools for Visual Studio 2022 でビルドする
『エキスパートPythonプログラミング 改訂4版』11章「Pythonパッケージの作成と配布」では、Windows環境でPython 3のC拡張をビルドするにはVisual C++かMinGWを使う方法がある、と一言触れられています。2023年現在のお勧めツールと、インストールやビルド手順について検証を行いました。
TL;DR
WindowsでPython3のC拡張をビルドするには Build Tools for Visual Studio 2022 を使います
2023年現在ではおそらく一番良い選択肢でしょう
このコマンドラインツールは無料で利用でき、生成したバイナリの利用や配布に制限はありません
11章「Pythonパッケージの作成と配布」の記述を検証
11章の原文(以下)では、「Windows環境でPython 3のC拡張をビルドするにはVisual C++かMinGWを使う方法がある」と一言触れられています。
The C compiler used in the build process is the compiler that is the default for your operating system. For a Linux-based system or macOS, this would be
gccorclangrespectively. For Windows, Microsoft Visual C++ can be used (there's a free command-line version available). The open-source project MinGW can be used as well. The compiler choice can also be configured throughsetuptools.
しかし、2023年時点でMinGWはPython拡張ビルドのお勧めの方法とは言えません。確かに、 setuptools (というか distutils )はMinGWをサポートしていますが、配布可能な、一般的なWindowsで動作するバイナリ配布物をMinGWで作成できないと思います。自分も2013年頃にトライしましたが、セグフォなどで安定せず諦めた記憶( 記録 )があります。(できた方は、ぜひ情報をご提供ください)。
2023年現在の一番良い選択肢は Build Tools for Visual Studio 2022 です。有り難いことに、MicrosoftはVisual Studioのコマンドライン版を200x年以降ライセンスフリーで利用可能としてくれています。2014年には「Microsoft Visual C++ Compiler for Python 2.7」という、Pythonをツール名に冠したバージョンもありました。
それではインストールから検証していきます。
事前準備
Windows 11 (64bit)
Python: 3.10 (amd64)
Pythonとコンパイラのバージョン整合性を確認
WindowsCompilers - Python Wiki より
Microsoft Visual C++ 14.x with Visual Studio 2022 (x86, x64, ARM, ARM64)
Microsoft Visual C++ 14.2 standalone: Build Tools for Visual Studio 2019 (x86, x64, ARM, ARM64)
Microsoft Visual C++ 14.2 with Visual Studio 2019 (x86, x64, ARM, ARM64)
Microsoft Visual C++ 14.1 standalone: Build Tools for Visual Studio 2017 (x86, x64, ARM, ARM64)
Microsoft Visual C++ 14.1 with Visual Studio 2017 (x86, x64, ARM, ARM64)
Microsoft Visual C++ 14.0 standalone: Visual C++ Build Tools 2015 (x86, x64, ARM)
Microsoft Visual C++ 14.0 with Visual Studio 2015 (x86, x64, ARM)
VC++ のメジャーバージョンは2015年以降ずっと14なんですね。
2023/03/04時点では、Build Tools for Visual Studio 2022 で Microsoft Visual C++ 14.3 をインストールすれば良さそうです。
Build Tools for Visual Studio 2022 のインストール
Build Tools for Visual Studio 2022 を入手します。
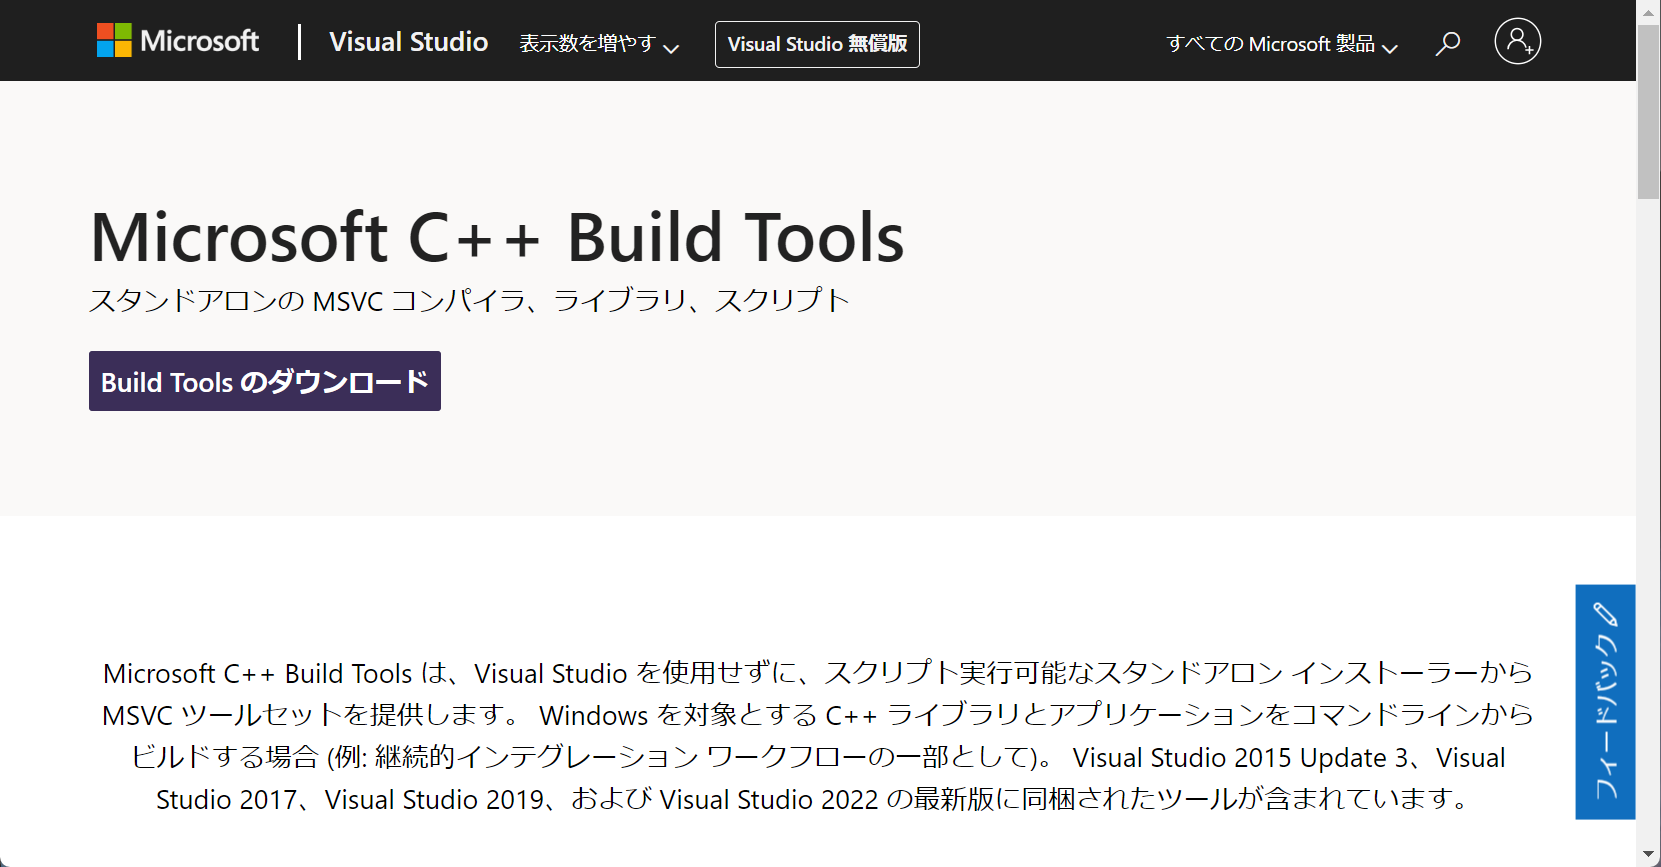
Microsoft C++ Build Tools - Visual Studio
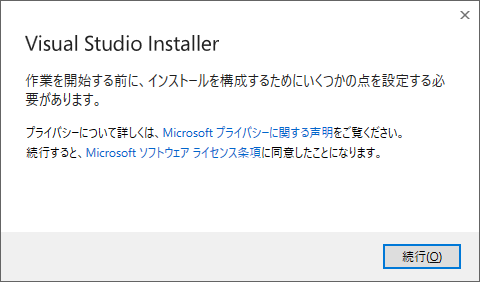
Visual Studio Installer 起動
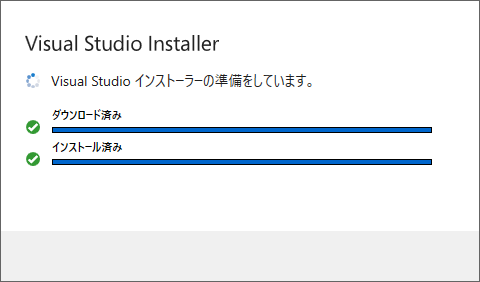
Visual Studio Installer 準備中
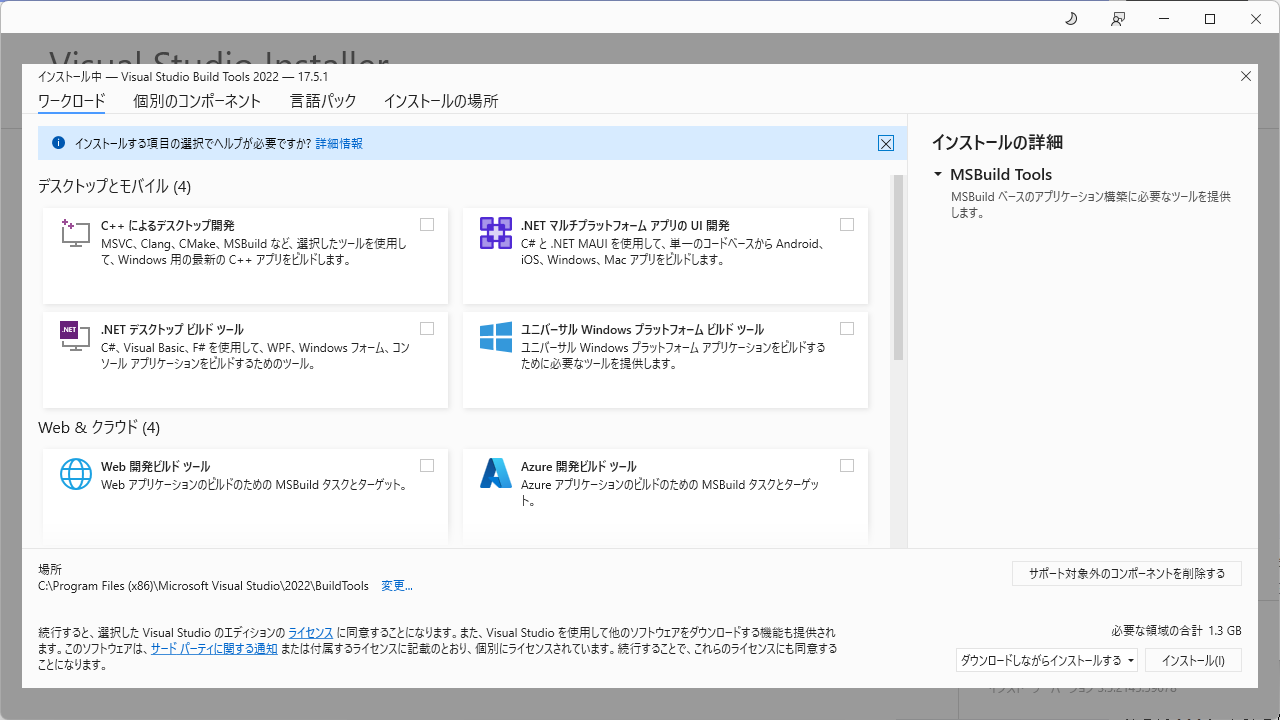
インストール対象の選択
インストール対象がたくさんあり、かつ、コンパイラも似たようなものがたくさんあります。必要最小限の選択をするために、 WindowsCompilers - Python Wiki を読んで試行錯誤しました。 WindowsCompilers - Python Wiki には以下の様に書かれています。
Install Microsoft Visual Studio 2022 (or later).
Install the Python development workload and the optional Python native development tools option.
Install the latest Windows SDK (under Native development in the installer).
Optional: Set $env:PlatformToolset to your toolset version before building, if it doesn't detect it.
Update to the latest setuptools Python package version.
このうち、1と3が必要でした。2はPython自体の開発に必要なオプションなので今回は不要です。 以下の様に選択しました。
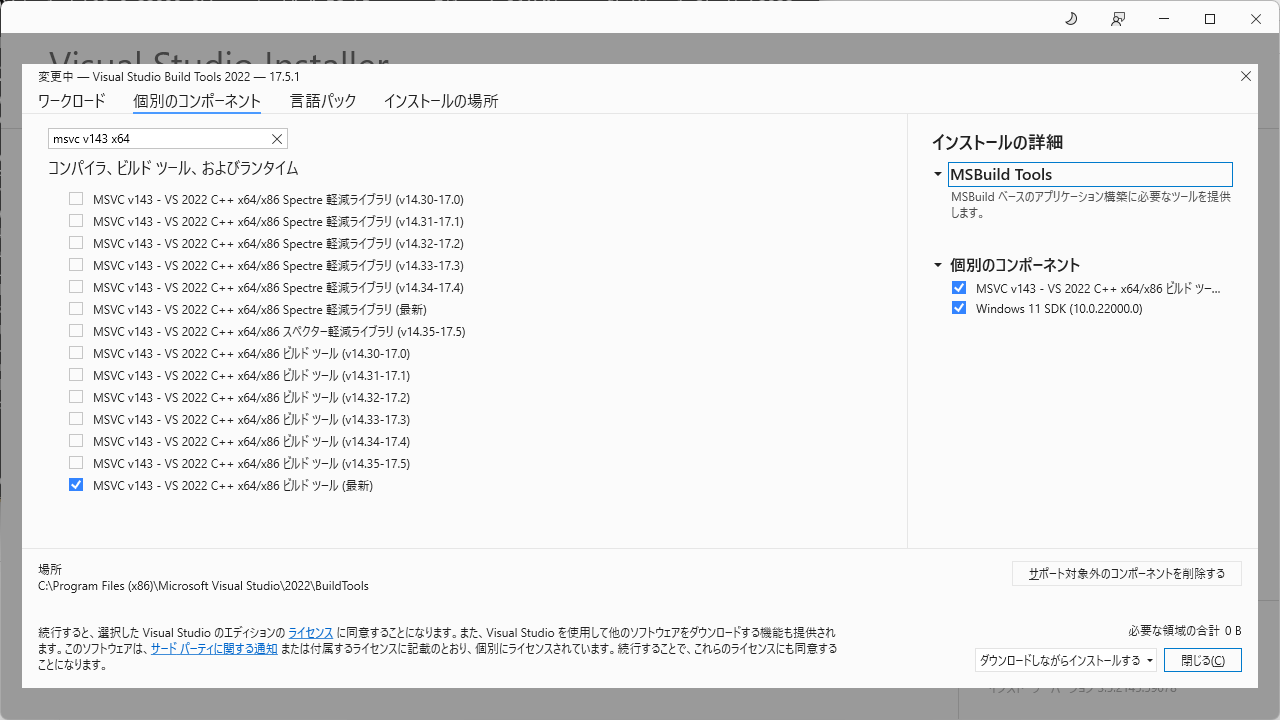
個別のコンポーネントタブで個別選択
MSVC v143 - VS 2022 C++ x64/x86 ビルドツール(最新)
Windows 11 SDK (10.0.22000.0)
私は初め、 (最新) ではなく一番新しそうなバージョン番号が明記されている (v14.35-17.5) をインストールしましたが、これだと後で必要な vcvarsall.bat がインストールされていないことが分かり、NGでした。
構成ファイル .vsconfig は以下の様になりました。これを保存して、「構成ファイルのインポート」で読み込んでも良いと思います。
{
  "version": "1.0",
  "components": [
    "Microsoft.VisualStudio.Component.Roslyn.Compiler",
    "Microsoft.Component.MSBuild",
    "Microsoft.VisualStudio.Component.CoreBuildTools",
    "Microsoft.VisualStudio.Workload.MSBuildTools",
    "Microsoft.VisualStudio.Component.VC.Tools.x86.x64",
    "Microsoft.VisualStudio.Component.Windows11SDK.22000",
    "Microsoft.VisualStudio.Component.VC.14.35.17.5.ATL.Spectre",
    "Microsoft.VisualStudio.Component.VC.14.35.17.5.MFC.Spectre"
  ]
}
インストールが完了したら、インストール先ディレクトリの C:\Program Files (x86)\Microsoft Visual Studio\2022\BuildTools\VC\Auxiliary\Build を確認します。
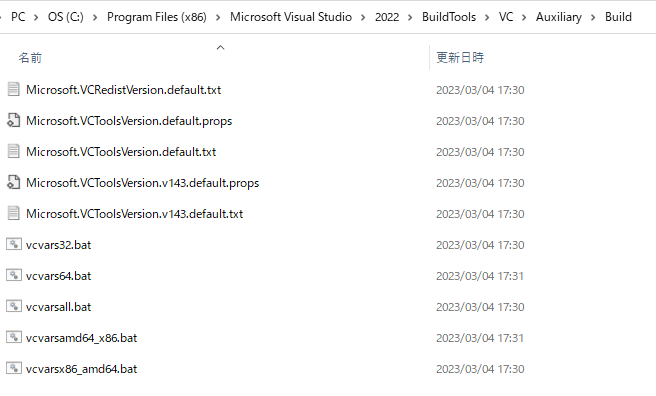
vcvarsall.bat インストールされている
ここに vcvarsall.bat がインストールされていればOKです。
vcvarsall.bat は、PythonのC拡張をビルドする際に distutils から呼び出されます。
呼び出しているコードはこちら。 https://github.com/pypa/distutils/blob/4435cec31b8eb5712aa8bf993bea3f07051c24d8/distutils/msvc9compiler.py#L274-L276
インストールはこれで完了です。
Python3 C拡張のビルド
ビルドするためには、 x64 Native Tools Command Prompt for VS 2022 でコマンドラインを起動する必要があります。
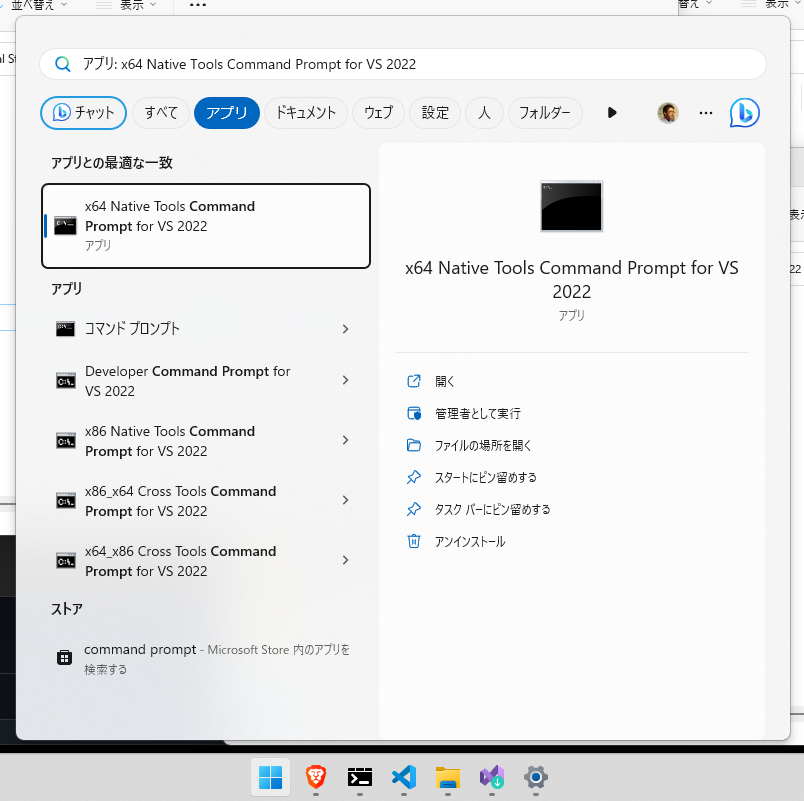
VC環境のコマンドラインを起動
キャプチャ画像にあるように、 Command Prompt for VS 2022 はいくつか種類があります。今回はx64向けにビルドするため、 x64 Native を選択しました。
今回のサンプルコード Expert-Python-Programming-Fourth-Edition/Chapter 9/02 - Pure C extensions at main · PacktPublishing/Expert-Python-Programming-Fourth-Edition · GitHub には setup.py が用意されています。以下の様に実行します。
python setup.py build
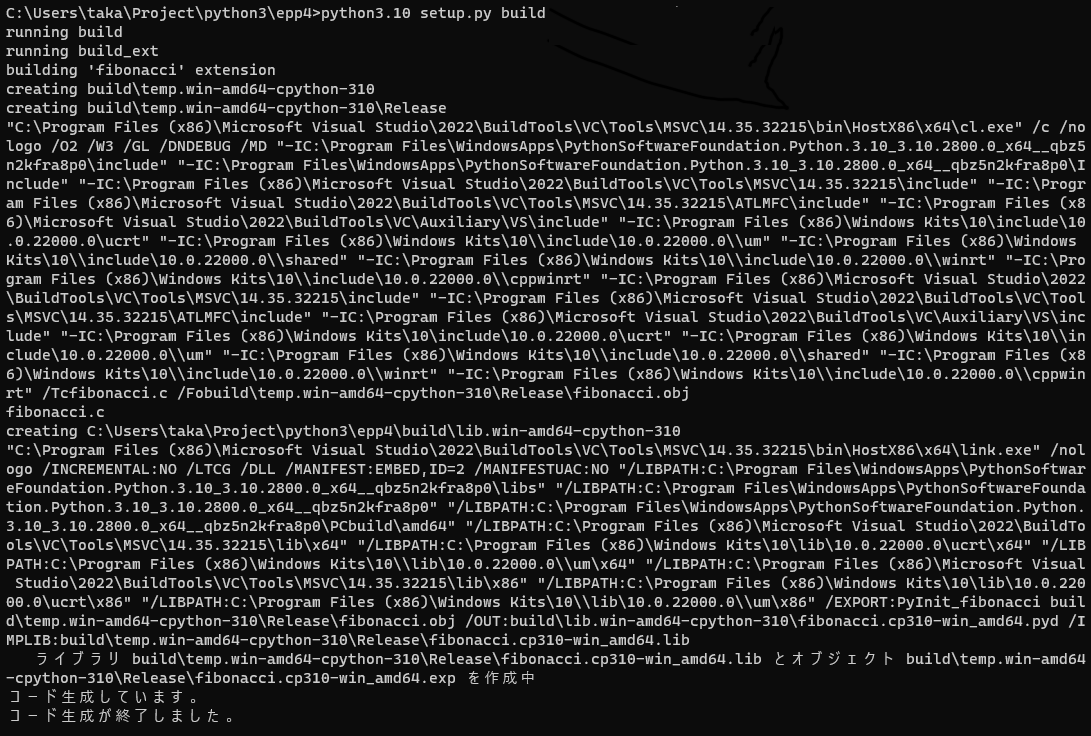
ビルド成功
無事ビルドができました。
ここでエラーになる場合は、x64かx86かの違いかもしれません。
その場合は --plat-name を指定するか、最初に起動するVC環境のコマンドラインを変更する必要があります。
これについて コラム で後述します。
また、 setup.py build を使わない方法として python -m build があります。これも コラム にて紹介します。
Python3 C拡張の実行
ビルドされたpydのあるディレクトリに移動してimportして実行すると、 fibonacci 関数が無事動きました!
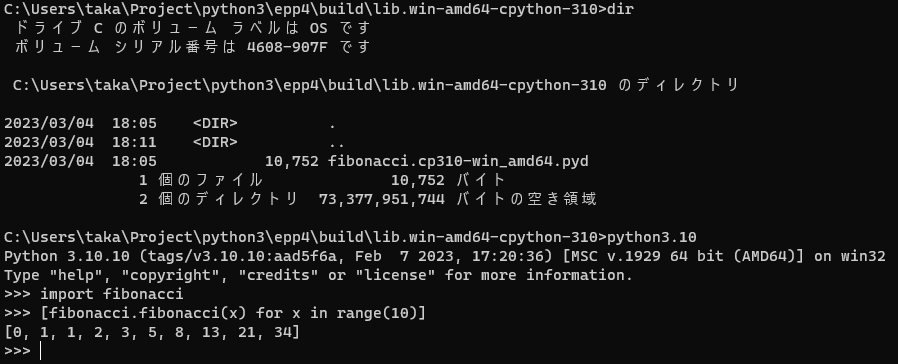
C拡張のfibonacciがうごいたぁぁーー!!
やりましたね!
参考情報
-
distutils.msvccompilerがVS build tools で動作しないよ、というバグ報告私(清水川)はこうやったらうまくいったよ、というコメントをしておきました
Windows での Python 2.7, 3.4, 3.5 の拡張モジュールビルド環境 - Qiita
2014年当時に、エキPy翻訳者でPythonのコミッターであるmethaneさんが書かれた記事があります。当時もWindowsでのバイナリビルドは情報が不足しており、こういった記事は有り難いものでした。
Build Tools for Visual Studio 2022 で Python3のC拡張をビルドする(失敗編)
失敗の記録です
-
Python development 向けのコンパイラバージョンはこれ、みたいな情報?調べてる途中で見つけた資料だけど、役に立ったかどうかは忘れました。